|
My first ever Blog
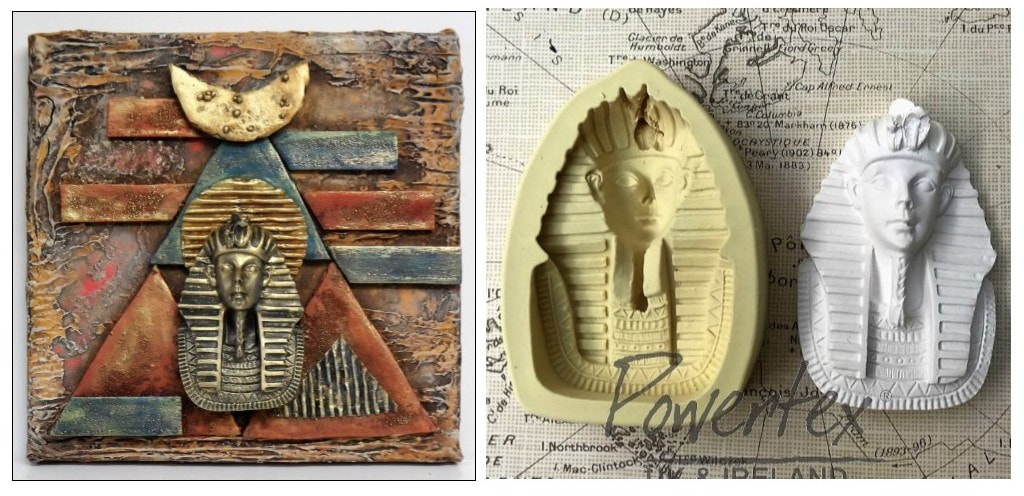
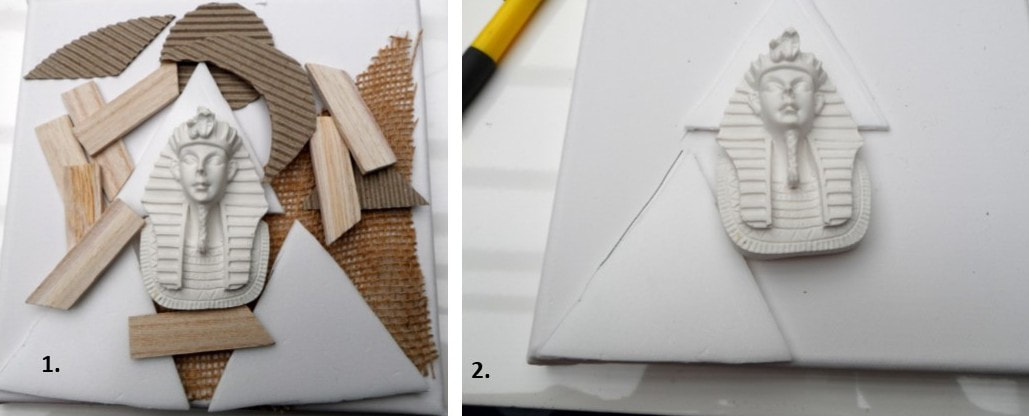
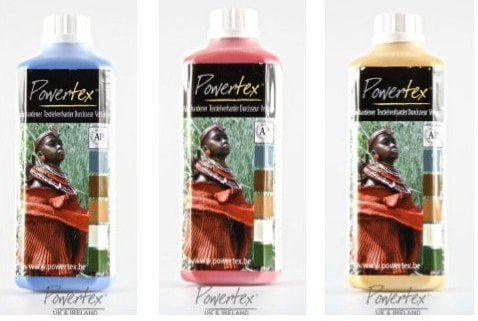
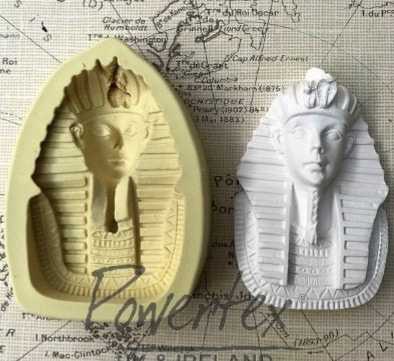
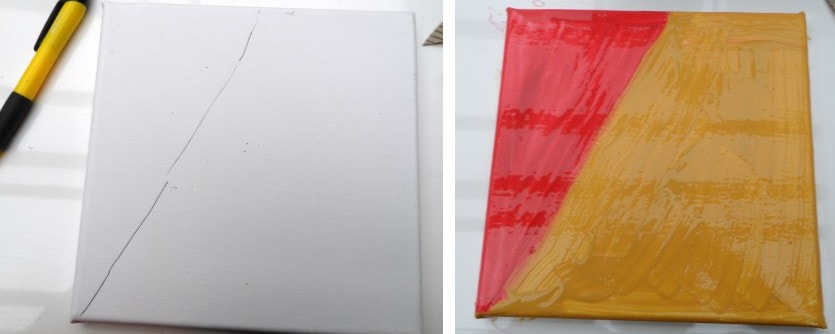
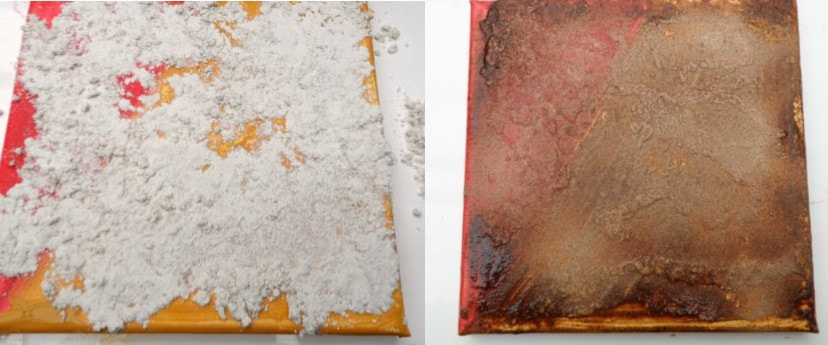
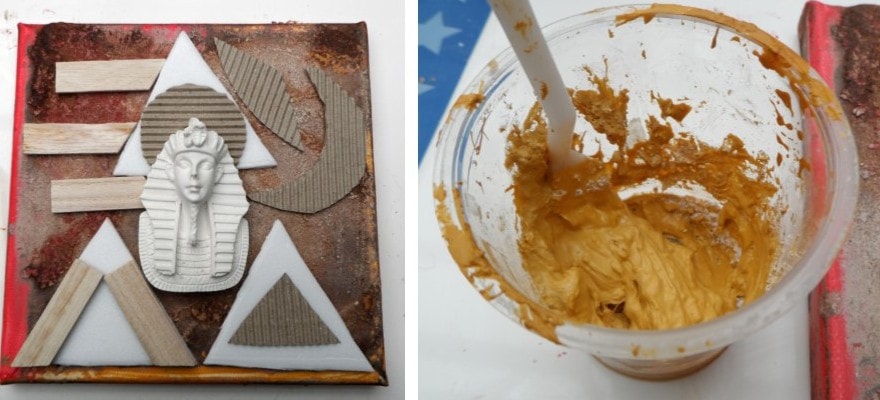
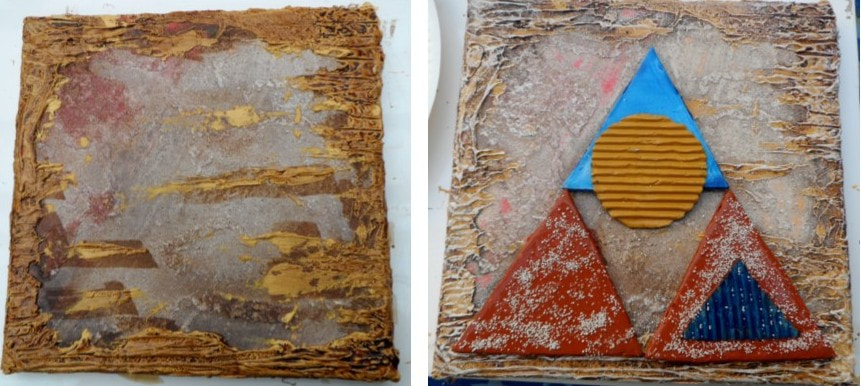
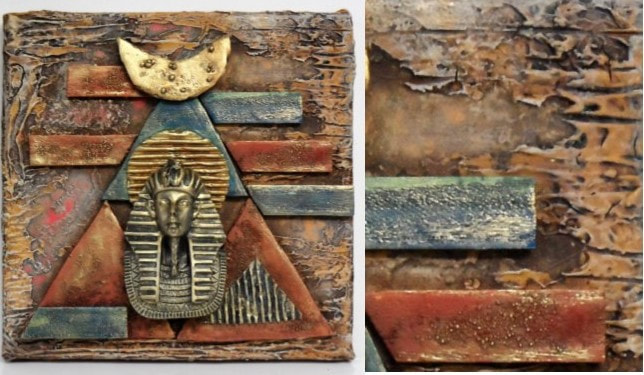
I love all things about Ancient Egypt so was thrilled when Powertex UK bought out the Tutankhamun mould. I have always been fascinated with pyramids and ancient symbolism. This canvas is very easy to create but so effective. I NO LONGER USE POWERTEX BUT WOOD GLUE AND FILLER INSTEAD. The canvas measured 20 x 20 centimetres. Magical numbers interest me too and I wanted this creation to mean something. The polystyrene bases from Pizzas are thin and easy to cut using scissors. The 3 small pyramids measure 9 x 9 x 9 centimetres each. I cut out some shapes of corrugated cardboard so I had a selection to choose from. The wooden bits come with the canvas and are really handy embellishments. I decided later not to use the jute but like to have lots bits cut out ready before I begin. 2. I placed 2 pyramids on the canvas and drew a line. I used Blue, Red and Ochre Powertex Hardener. I also used Stone Art, Easy 3D Flex and some Sand and Balls. Not shown here, but I also used Brown Bister which is a water based stain available from www.powertex.co.uk I used a casting powder in the mould Using my line as a guide I applied a coat of Red and Ochre Powertex Hardener I am going to have to describe the next stage as it isn’t easy photographing and working on it at the same time. I sprinkled some of the Stone Art all over the wet canvas then using the palm of my hand pressed down all over so that a layer of it stuck. I brushed off the excess, added a few more blobs of Powertex then applied another sprinkling of the powder. This was again worked in and the excess removed. I was aiming at an aged look so sprayed Brown Bister around the edges. 7. At this stage I was becoming really excited so placed some of cut outs on the canvas to see what it looked like. As you will notice with the end result I changed my mind about the positioning. Next it was time to apply a border that looked like cracked stonework. 8. For this I used Easy 3d Flex mixed with the Ochre Powertex. I must add here that I am only a level 1 and 2 certified Powertex Tutor which does not allow me to teach the techniques of the Easy 3d Flex but can use it for my own personal projects and for Blogs. If you would like expert instruction on its uses and application then visit the Powertex website and seek a tutor who has qualified in Level 3 and 4. 9. For more of an aged look I sprayed a little more Brown Bister around the edges. 10. Using the Ochre Powertex I stuck the bottom 2 pyramids down. These I had painted Brown. 10. For the top pyramid I used the Blue Powertex. Whilst the Powertex was still wet I added some of the Sand and Balls. I got so carried away with it, that I forgot to photograph adding the little bits of wood and the half moon at the top. I used a water based wet wipe to wipe away the Bister on the surface of the Easy 3d Flex and dry brushed over the surface with Ivory Powertex. Then came a touch of gold. You can use Gold Powertex Pigments for that or a gilding wax. I really hope you have enjoyed this little project. Check out the Powertex website for your supplies and a certified tutor in your area. www.powertex.co.uk. For workshops in Polymer Clay and Powertex with me, please visit my website www.birdyheywood.com
2 Comments
Renee Warwick
10/12/2017 02:38:00 pm
Birdy... This looks amazing .... Thankyou for sharing your technique with us...
Reply
Birdy
5/28/2019 06:04:07 am
Thank you so much Renee Warwick. I really enjoyed creating it.
Reply
Leave a Reply. |
||||||||
